Crisp’s connectors can automatically collect and consolidate your organization’s information from several sources, including supplier portals provided by retailers and distributors. This automation saves organizations a lot of time, effort and frustration. It replaces the repetitive manual process of logging into various portals, downloading a specific time-snapshot of information, and importing it into a complicated spreadsheet model.
You can create a destination connector to send your organization’s data - which is automatically collected, organized, and stored in the Crisp data platform - to Power BI. If you analyze your data in Excel, you can also optimize performance of your reports by setting them up to run on PowerBI. Crisp recommends using PowerBI to power Excel reports for any moderate to large data sets. For more on how to set this up:
Note: To set up this connection, you need to be running Power BI on Windows.
Steps:
- Login to your Crisp account.
- From the main menu on the left side of the screen, select Connectors.
-
Select the Add connector button.
-
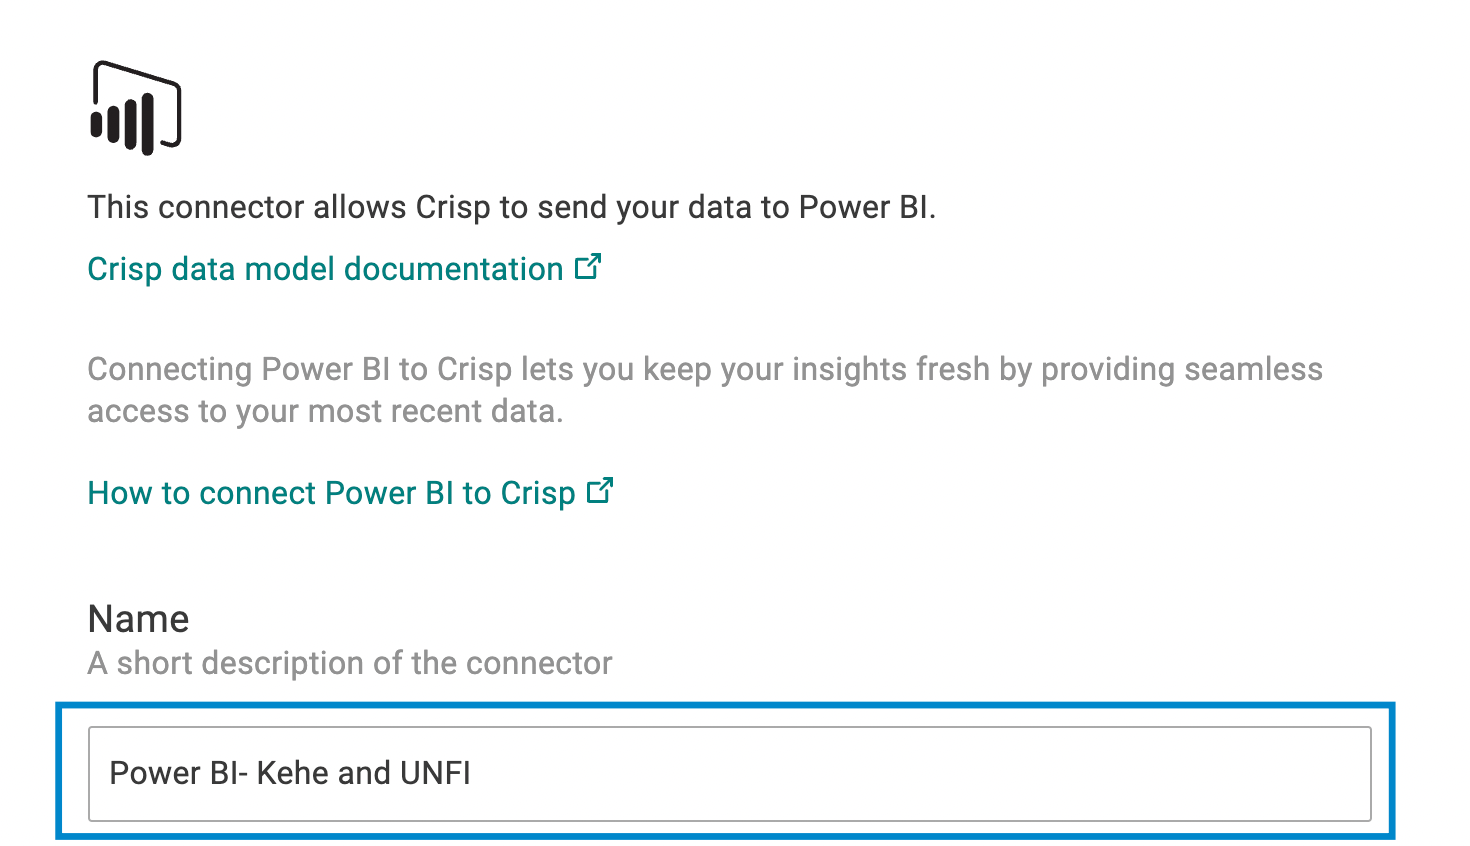
Select the Power BI connector tile.
-
If you want, update the default name of the connector. If you're going to set up multiple data feeds to this destination, we recommend using something unique.
-
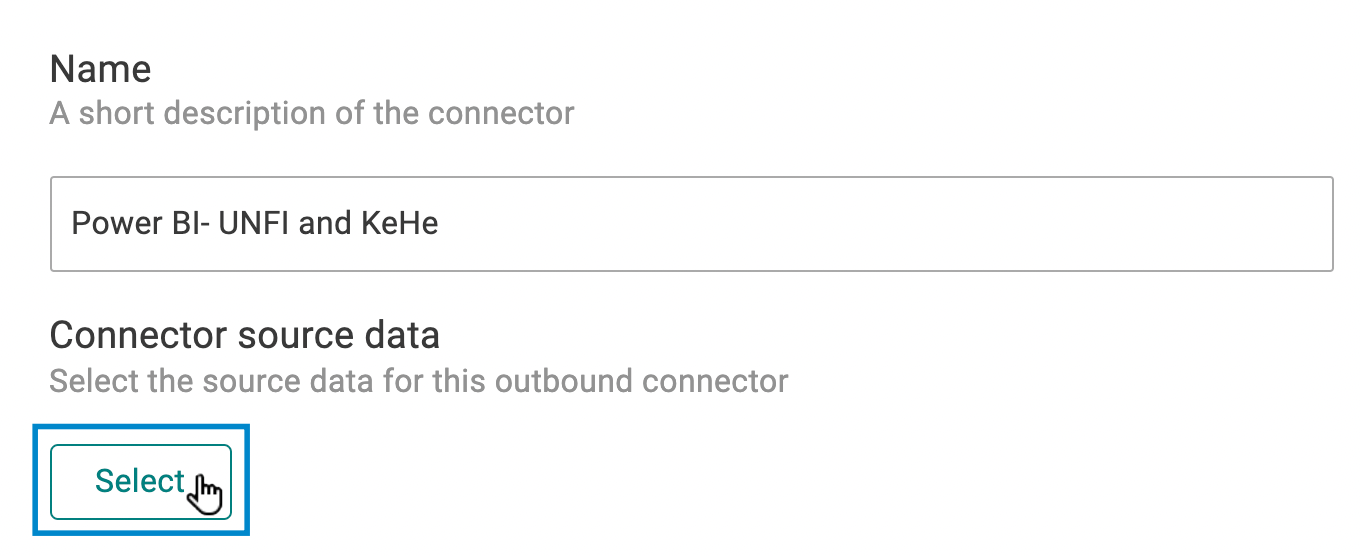
In the Connector source data section, select the Select button.
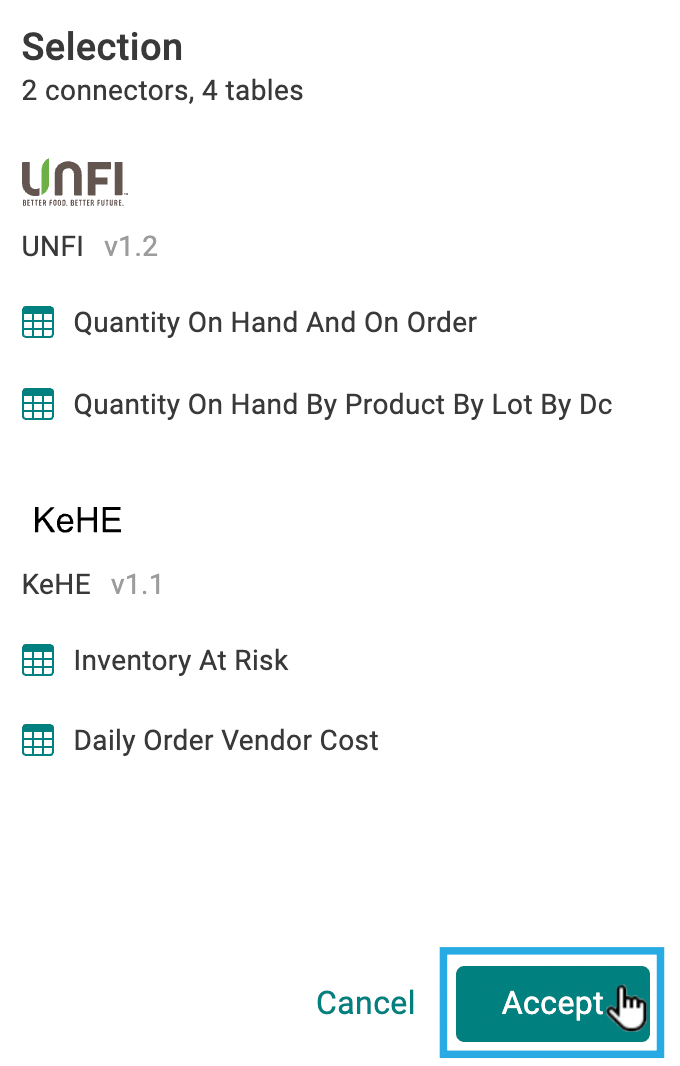
The Select source data screen appears. - Select the retailer for which you want to export data (e.g., UNFI), then choose which data tables and columns to include in the export. For detailed instructions on making your data feed selections, see Selecting Destination Data Sources.
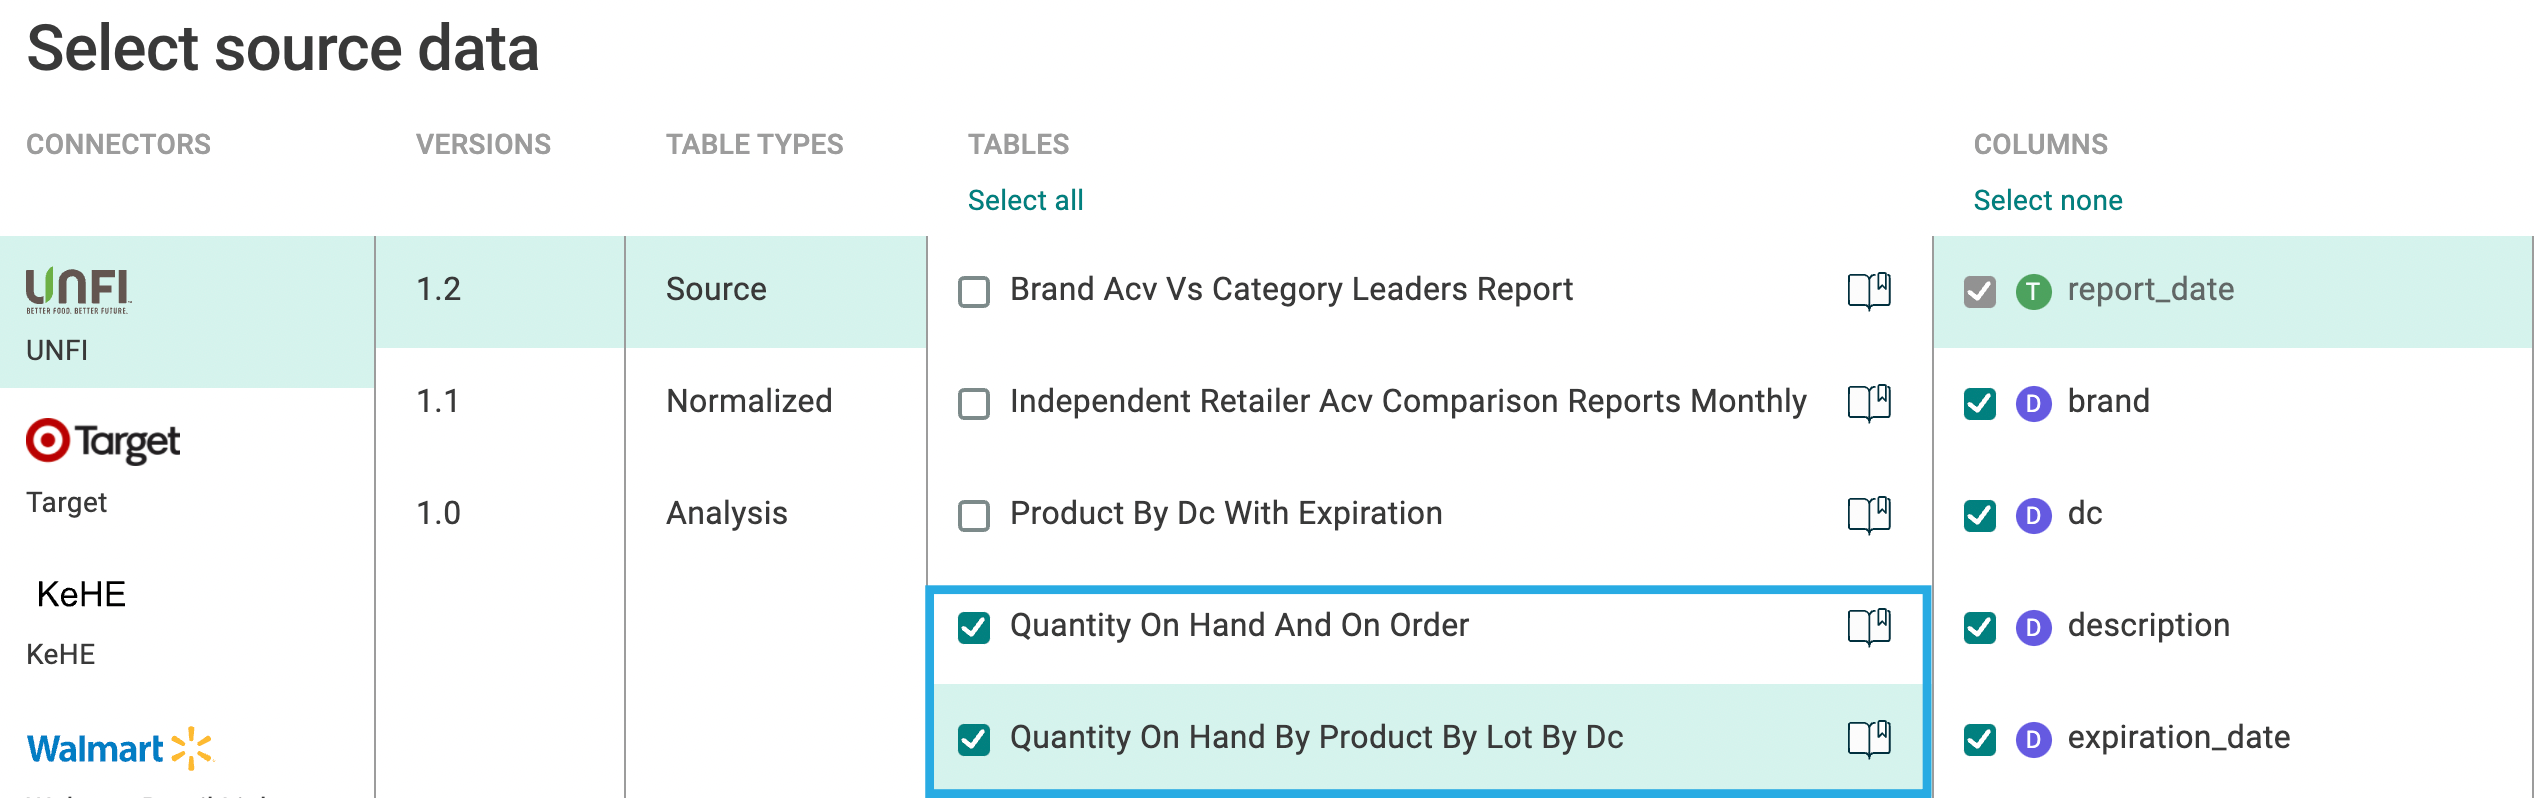
Hint: You can select the book icon to the right of a table name to see its documentation. - To complete your selections, select the Accept button.
The window closes and you return to the connector setup screen. - Specify a time period (e.g., Last 26 weeks) that you want to load into the feed initially. You can select the Absolute button to enter a custom date range.
Hint: We recommend selecting the last quarter for a faster load time.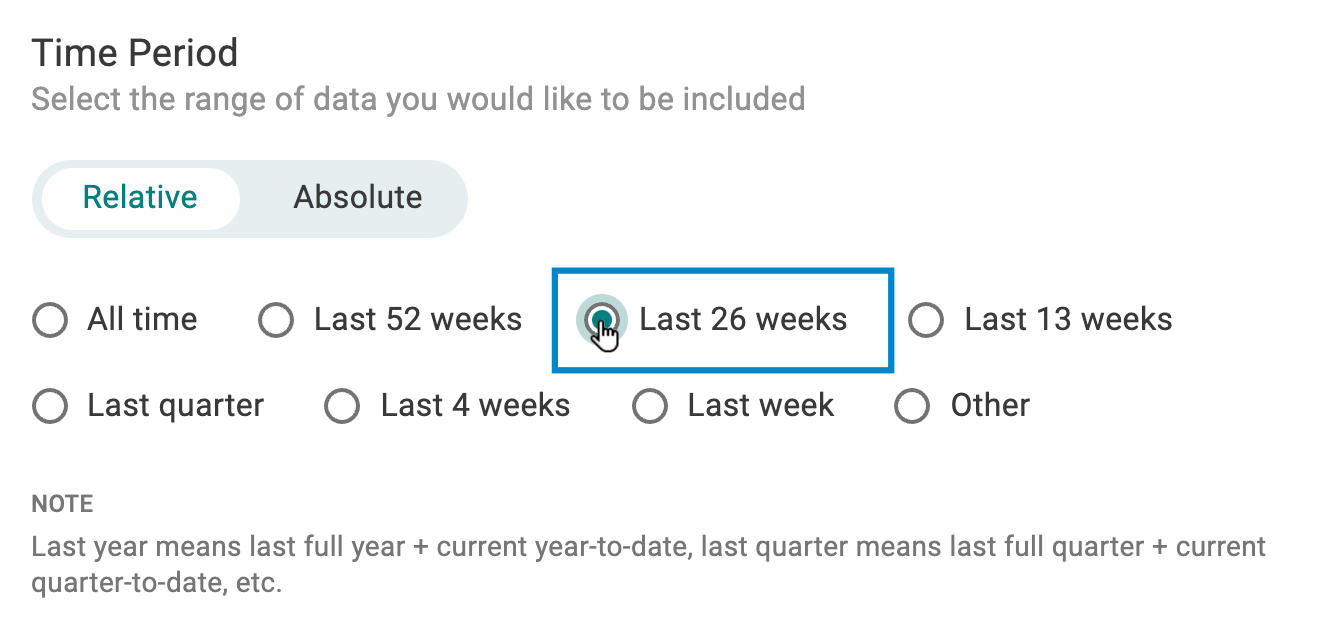
- If you want to include a column in your export that identifies which source connector the data came from, select the Include Source Connector Configuration ID option.
Hint: This is useful if you have multiple connectors for the same retailer, such as one for U.S. sales and one for Canadian sales.
-
Select the Save button.
The Connectors page appears with a new tile for your Power BI connector.
-
Select the new Power BI connector tile.
A details screen appears. -
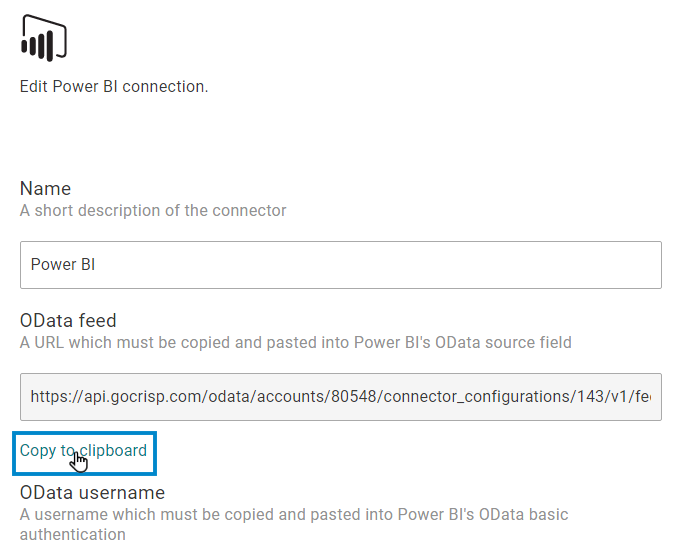
In the OData feed section, select the Copy to clipboard link. This will copy the URL you will use in the next steps to set up the connection in Power BI. Please keep this window open, as you will need to refer to it again.
-
Open a new Power BI instance. From the Home tab, select Get data > OData feed.
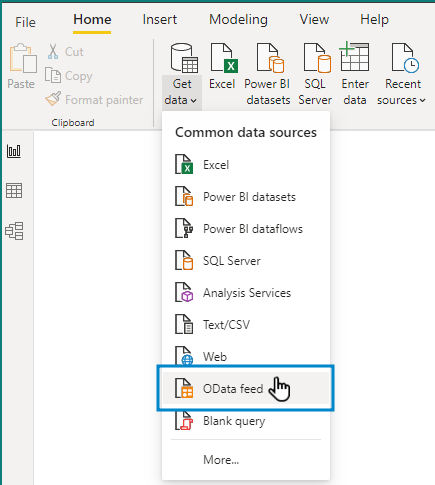
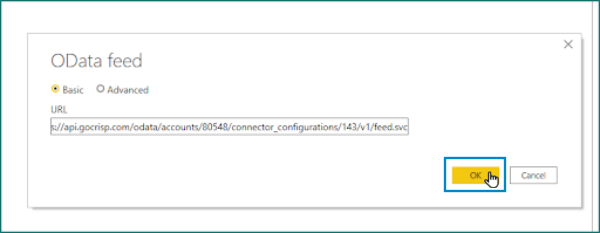
The OData feed window appears. -
In the URL field, paste in the link you copied in Step 5, then select the OK button.
-
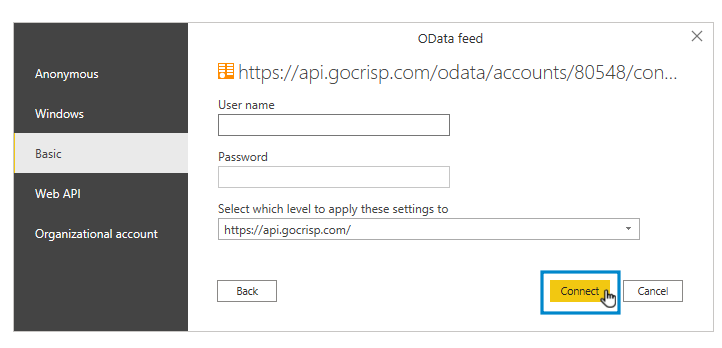
From the left hand navigation, select Basic. Return to the Crisp platform Edit Power BI connection screen from Step 5, then under OData username, select the Copy to clipboard link and paste this value in the User name field in Power BI. Repeat this process for the Odata Password, then select the Connect button.
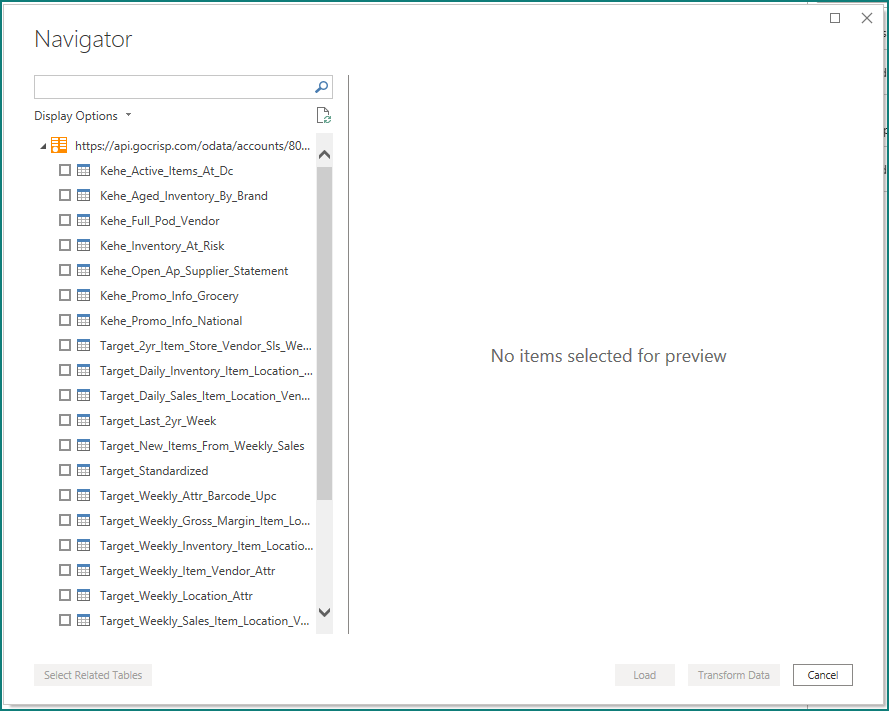
If the connection is successful, a list of reports appear that you can work with. -
Select one or more reports you want to use, then select the Load button.
Power BI is now connected to the Crisp platform.